")

Aquafaba Meringues
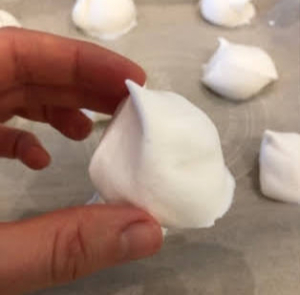
What if I told you this delicious looking meringue contained no egg white whatsoever??
That’s right!
This vegan meringue is made using aquafaba. Aquafaba means bean water it’s the viscous liquid leftover in your cans of beans. Appetizing huh?! The best beans to use are garbanzo beans due to their neutral flavor. When I discovered the magic of aquafaba, I had to try it for myself.
The kids and I made a batch and it turned out so well on the first try. The aquafaba acts exactly like egg white. It whips up into hard peaks with the addition of cream of tartar.
You could create really delicious flavors with the addition of cocoa powder, coffee, lemon zest, flavor extracts, or chocolate chips.
Print
Aquafaba Meringues
Ingredients
1 can No Sodium Garbanzo Beans, using liquid only
1/2 cup of sugar
1 teaspoon of cream of tartar
1/2 teaspoon vanilla extract
Instructions
- Preheat oven to 200°F, line 2-3 baking sheets with parchment paper.
- Strain chickpeas from 1 can and reserve liquid (aquafaba) in a bowl. You can use chickpeas for another dish.
- Get out an electric hand mixer or stand mixer with the whisk attachment.
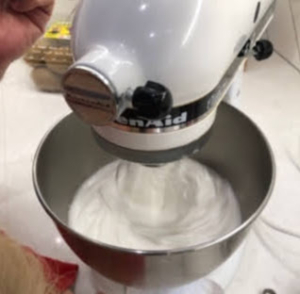
- Add your cream of tartar into the aquafaba and beat on medium speed until you attain soft peaks (3-5 minutes).
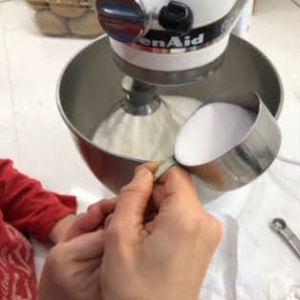
- While continuing to beat the mixture, gradually add in your sugar, 1 tablespoon at a time.
- Add vanilla to mixture, continue beating on medium (5-8 minutes more). The meringue is completed when you have stiff peaks (the mixture stands up straight when the whisk or beaters are lifted).
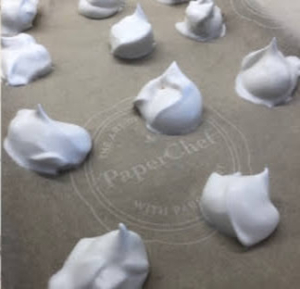
- Use a piping bag or spoon to create 1-inch rounds on the parchment paper- should allow for 36-40 meringues.
- Bake until dry to the touch, about 1 hour. If you choose to make a larger meringue, bake for 1-2 hours.
- Remove from the oven and let cool before storing in a tightly sealed container.
- Enjoy!


